Red-Winged Blackbirds
If you've stepped outside in Toronto over the last few weeks, you've likely heard the "conk-la-ree!" of the, at times, infamous red-winged blackbird. Yes, there are quite humorous accounts of them defending their territory but overall their calls in the early brisk mornings are a wonderful sign of spring and warmer days ahead.
The male red-winged blackbirds are identified by their entirely black plumage, save for their red and yellow shoulder patches, while the females are streaky brown, almost like a large sparrow. You'll likely see them on cattails, walking along the ground or perched on branches. Overall, they're quite territorial so don't be surprised if they don't fly away when you get pretty close to them… in fact, don't be surprised if they do a little swoop from a branch as you walk by!
Although they're one of the more common bird species across Canada, this doesn't mean that it isn't possible to capture unique and attention-grabbing photos! Here's some tips for capturing them at their finest!
Observe First and Learn their Behaviours
Like most wildlife, overtime some of their behaviours can become a bit more predictable. Watch them for a while first before starting to capture them. You'll notice that they often have a timing in between each of their calls, so you'll know when to expect them to puff up to display their dominance and call out.
Early Morning or Late Evening Light
This is good advice for almost all wildlife photography - try and get out at the first or last light of the day! Not only is this when these birds are most active, but it's also when the lighting is the softest and can give you that golden glow on your subject. Admittedly, even for myself it's tricky to be at my intended location for sunrise (it's just way too easy to snooze that alarm!) but every time I've done so, I've always been happy with my decision - and the photographs!
Best Camera Settings
When you're shooting with lenses of longer focal lengths (300mm or 400mm+) and you're trying to capture a creature that can fly off at any given moment, you're ideally looking at shutter speeds of 1/2000th of a second or faster. I like to start with 1/3200th of a second and move from there depending on how active our red-winged blackbird friend is at the moment. I prioritize getting sharp images over low-iso images.
Practice with Different Techniques and Settings
The good thing about photographing common birds is that you'll have many opportunities to practice playing around. Feel free to experiment with different techniques and camera settings and see what kind of results you'll turn up with! For instance, shoot from different perspectives; play around with shutter speed; try different lenses if you have more than one. Worse comes to worst, if you completely ruin a few shots, you'll have another chance just around the corner.
Pay Attention to the Background and Environment
This is something that takes a bit of practice to master. As much as you might want to simply burst off some photos because your subject is there in front of you, it's important to pay attention to how the environment or background complement, or detract, from your subject. An ugly branch; patches of light; sticks coming out awkwardly from behind or beside the subject; elements that distract the viewer; these are just some examples of elements to pay attention to once you've become familiar with some of the tips above. Sometimes a simple step to the side can completely change the quality of the shot.
If you want some inspiration to prepare yourself for your red-winged blackbird photography, check out my moody print of one perched on a cattail and get out there and practice! Happy shooting everyone :)
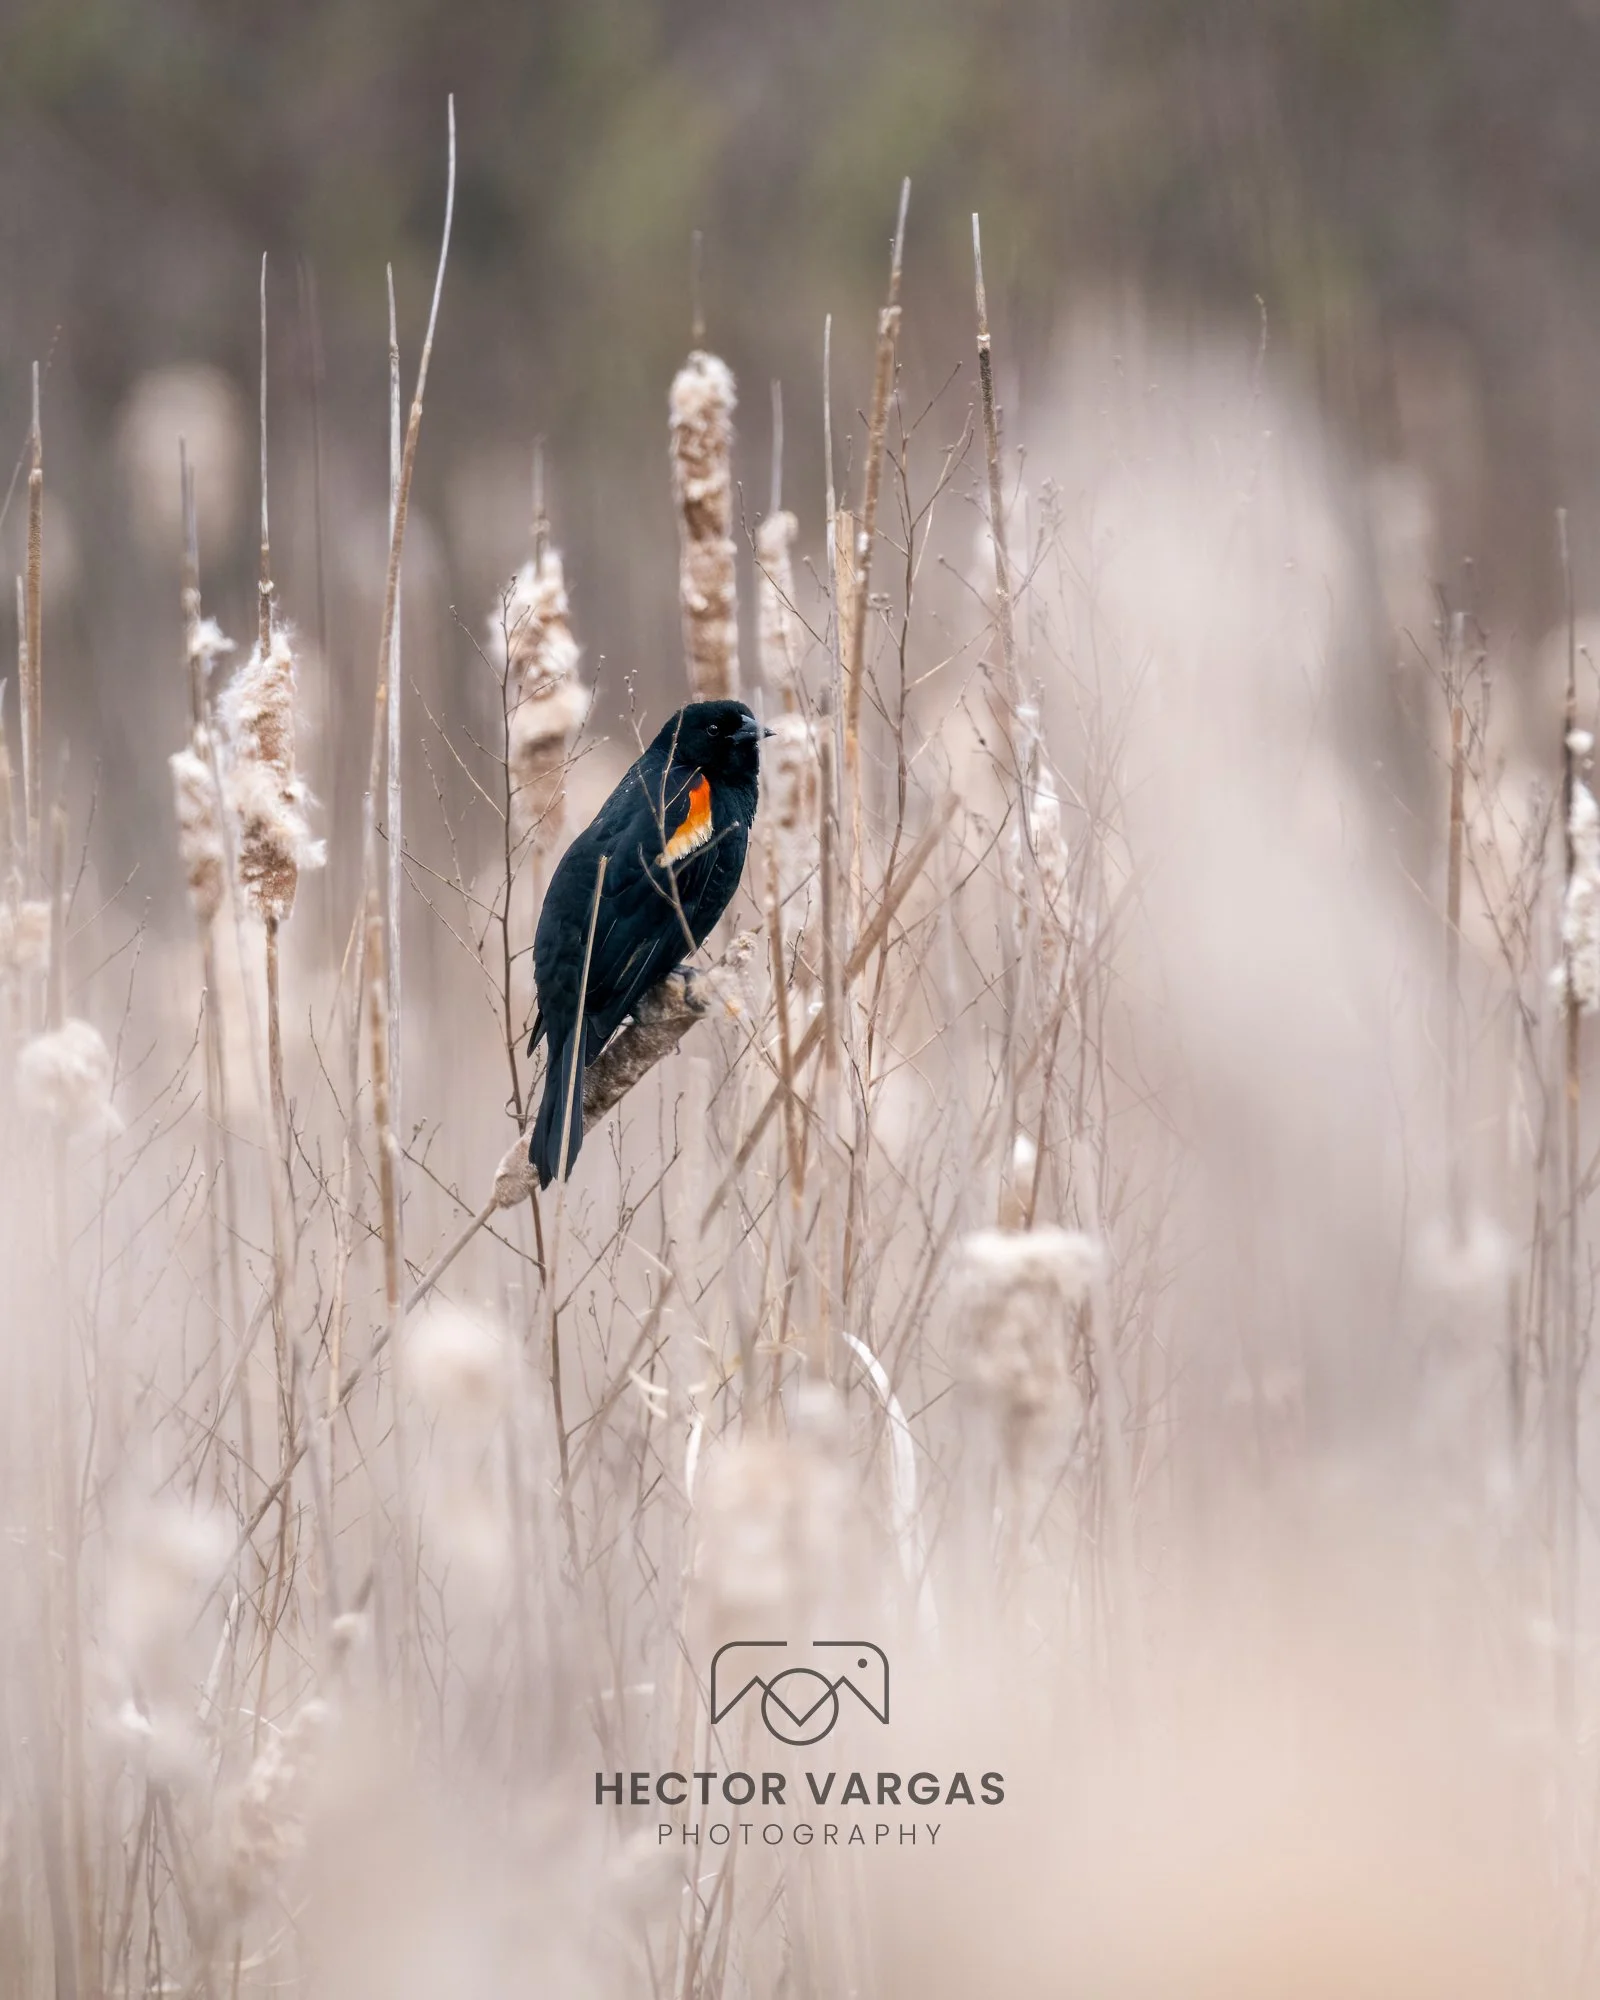


These birds may be common but they’ve got a bold personality and I wanted to capture that in a shot! They’ve been known to attack larger birds such as crows and ravens, and even humans — for getting too close to their nest! In this shot, a male perches proudly on a dried bulrush.
Print Details:
8 × 10 print
Printed on semi-glossy paper
Can be mounted to an 11 × 14 acid-free photo mat and backing
Recommended: An 11 × 14 acid-free photo mat and backing will protect it and makes the image stand out much more when framed!
Images are digital mockups and may slightly differ. Frame not included.